Contact Us : +91 90331 80795

Blog Details

Breadcrub
Blog Detail

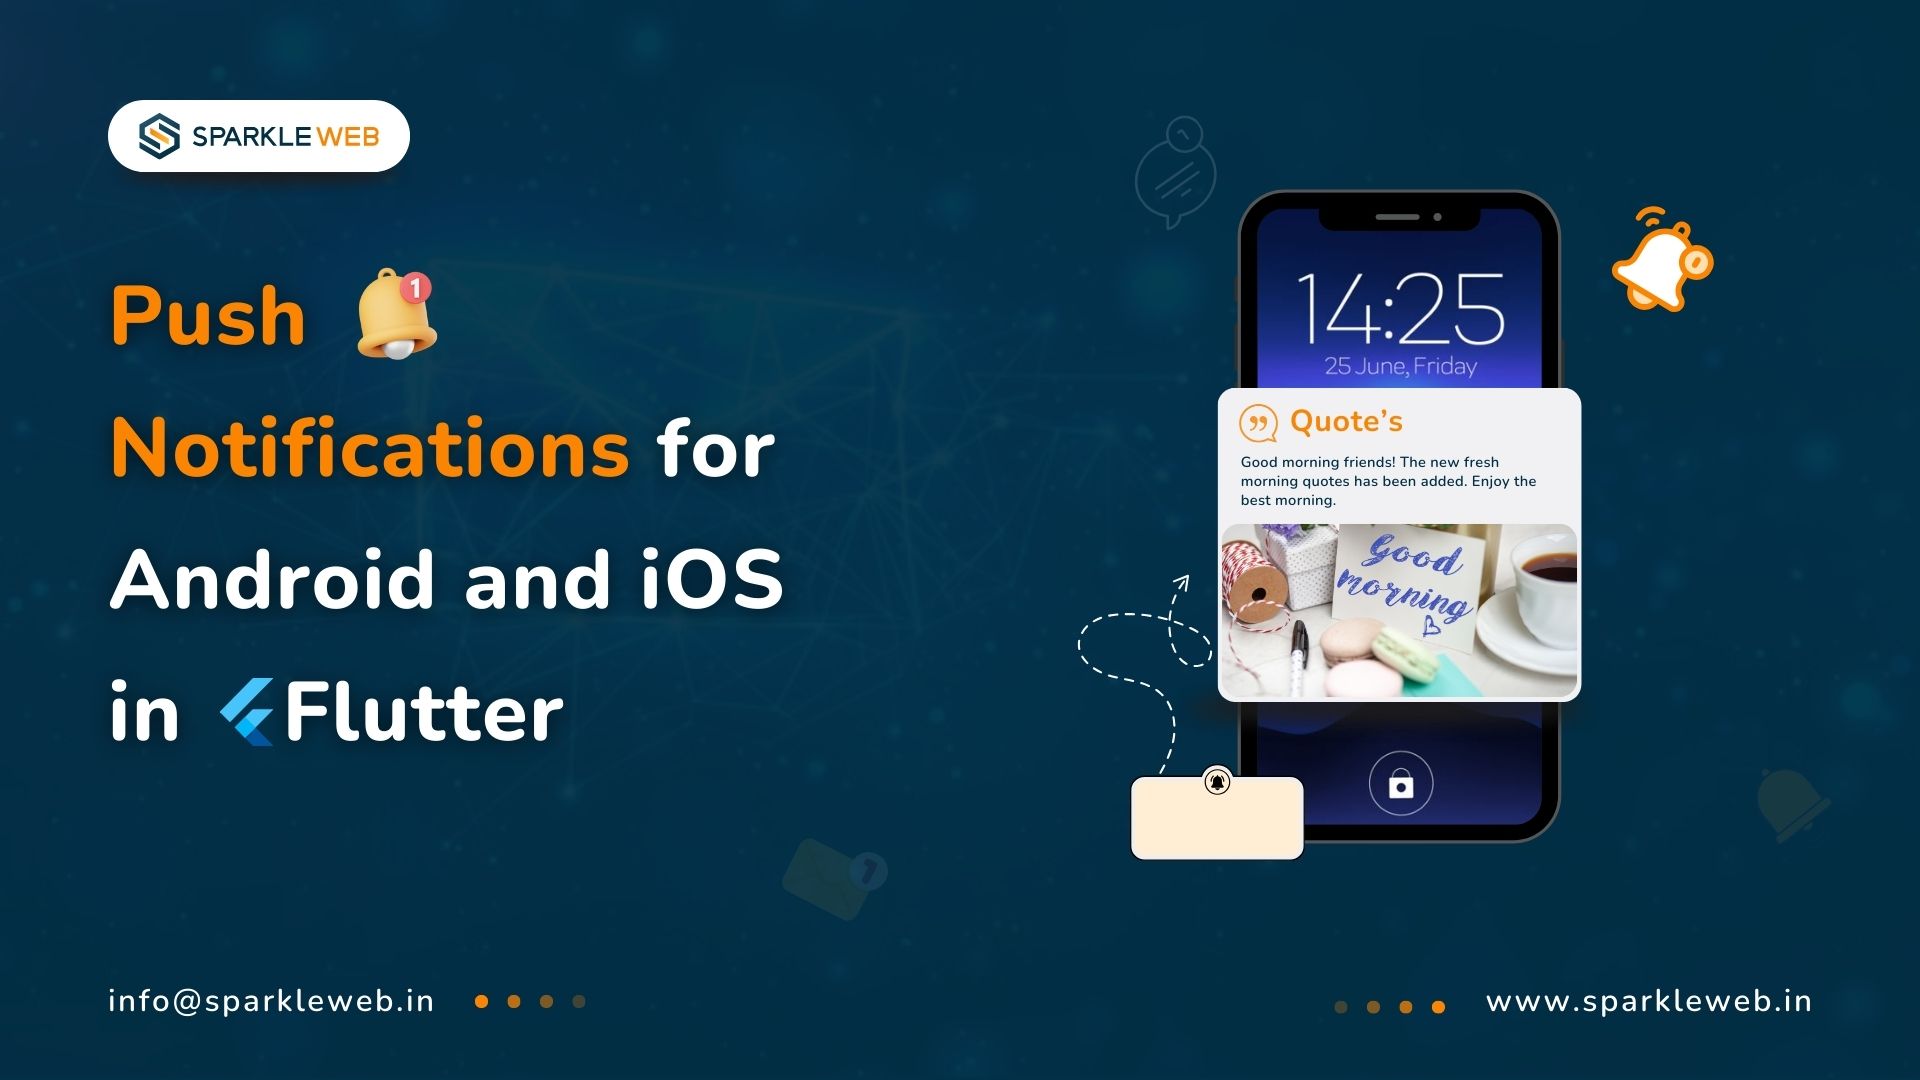
Effortless Push Notifications for Android and iOS in Flutter

In today’s mobile-driven world, keeping users engaged with your app is essential. One of the most effective ways to do this is through push notifications. These notifications let you send updates, promotions, alerts, or reminders directly to your users, helping to increase app usage and keep your users informed.
 
Flutter, Google’s popular tool for building apps, allows you to create apps for both Android and iOS with a single codebase. One of Flutter's great features is its ability to handle push notifications for both platforms easily. In this guide, we will go over how to use push notifications with Flutter, the benefits they provide, and some best practices to follow.
 

Why Push Notifications Matter

 
Increases Engagement by 88%: Apps that use push notifications see an 88% boost in user engagement compared to those that don’t. Notifications help remind users about app features, new content, or special offers, encouraging them to open and interact with the app.
 
  • Enhances Retention by 3 to 10 Times: Users who receive push notifications tend to return to the app 3 to 10 times more often than those who don’t. This helps keep your users coming back to your app regularly.

  • Increases Conversions by 40%: Push notifications can also increase conversion rates (like sales or sign-ups) by as much as 40%. This makes them a powerful tool for promoting products, services, or important updates within your app.

Technologies Used: Push Notifications in Flutter

 
Flutter makes it straightforward to integrate push notifications for both Android and iOS apps. Here are the main tools you’ll use:
 
1. Firebase Cloud Messaging (FCM)
FCM is a service provided by Google that allows you to send push notifications to your app on both Android and iOS platforms.
 
2. Local Notifications
Besides push notifications sent via FCM, Flutter also supports local notifications. These are triggered from within the app itself (for example, reminders or alerts).
 
3. Platform Channels
To enable complex notification features like scheduling or customizing how notifications appear, Flutter uses Platform Channels to interact with native Android and iOS code.
 
4. Flutter Packages
  • firebase_messaging: This is the main package used to integrate FCM in your Flutter app.

  • flutter_local_notifications: This package is used to manage local notifications and customize notifications for a better user experience.


Step-by-Step Implementation

 
1. Set Up Firebase
To send push notifications using FCM, the first step is to set up Firebase for your Flutter project. This involves:
 
  • Creating a Firebase project in the Firebase Console.

  • Adding the Firebase SDK (Software Development Kit) to your Flutter app.

  • Configuring Firebase Cloud Messaging (FCM) for both the Android and iOS versions of your app.
 
2. Integrate FCM in Flutter
After setting up Firebase, you need to integrate FCM into your app using the firebase_messaging package. Key steps include:
 
  • Adding firebase_messaging to your pubspec.yaml file.

  • Initializing Firebase in your Flutter app.

  • Handling push notifications for both background and foreground app states.
  • Displaying notifications using custom messages and payloads.


3. Handling Notifications on Android and iOS
Handling push notifications works differently on Android and iOS, especially when the app is in the background:
 
  • For Android: You need to configure the app’s AndroidManifest.xml to set up the required permissions for notifications.
  • For iOS: You will need to ask users for permission to show notifications using firebase_messaging. Also, update the AppDelegate.swift file to handle background notifications correctly.

 
4. Customizing Notifications
With the flutter_local_notifications package, you can customize your notifications in different ways, such as:
 
  • Setting custom notification sounds.

  • Adding action buttons for users to interact with.

  • Displaying images or large icons to make notifications more visually appealing.
 

Best Practices for Push Notifications in Flutter

 
1. Personalization
Personalize your notifications based on user preferences or behaviors. Notifications tailored to specific users are opened 4 times more than generic ones.
 
2. Timing is Important
Don’t send notifications at random times. Schedule them based on the user’s timezone and behavior to avoid annoying them.
 
3. Audience Segmentation
Divide your audience into groups based on their interests or app activity. This allows you to send targeted notifications, which can improve user engagement by up to 50%.
 
4. Clear Call-to-Action
Make sure your notification tells users exactly what you want them to do. Whether it’s a special offer or a reminder, the action should be clear and direct.
 
5. Use Rich Media
Notifications that include images, videos, or buttons see 25% more engagement than plain text notifications. Using rich media makes your notifications more interactive and appealing.
 

Conclusion: The Power of Push Notifications in Flutter

 
Push notifications are a key feature for increasing app engagement, boosting retention, and driving conversions. With Flutter and Firebase Cloud Messaging, you can easily set up push notifications for both Android and iOS apps. By following best practices, such as personalizing your notifications, sending them at the right time, and using rich media, you can create a more engaging experience for your users.
 

Building high-performing Flutter apps with powerful push notification features. Whether you are developing a new app or looking to enhance an existing one, we can support you in integrating a seamless push notification system to improve user engagement and drive results.

    Author

    • Owner

      Mohit Kokane

      A highly skilled Flutter Developer. Committed to delivering efficient, high-quality solutions by simplifying complex projects with technical expertise and innovative thinking.

    Contact Us

    Free Consultation - Discover IT Solutions For Your Business

    Unlock the full potential of your business with our free consultation. Our expert team will assess your IT needs, recommend tailored solutions, and chart a path to success. Book your consultation now and take the first step towards empowering your business with cutting-edge technology.

    • Confirmation of appointment details
    • Research and preparation by the IT services company
    • Needs assessment for tailored solutions
    • Presentation of proposed solutions
    • Project execution and ongoing support
    • Follow-up to evaluate effectiveness and satisfaction

    • Email: info@sparkleweb.in
    • Phone Number:+91 90331 80795
    • Address: 303 Capital Square, Near Parvat Patiya, Godadara Naher Rd, Surat, Gujarat 395010