What is SignalR?

Key features of SignalR include
-
Multiple Transport Methods: SignalR supports sending data between clients and servers in various ways. It automatically picks the best method based on the client’s environment. These methods include WebSockets, Server-Sent Events (SSE), and Long Polling. Each of these methods ensures a reliable and fast connection, even when the network is unreliable.
-
Automatic Connection Management: SignalR manages connections automatically. It handles everything from establishing the connection to maintaining it, so developers don’t have to write complex code to manage connections manually.
- Real-Time Data Updates: SignalR allows you to send and receive data in real time. This means that once the server sends an update, the clients immediately receive it without having to refresh the page or app.
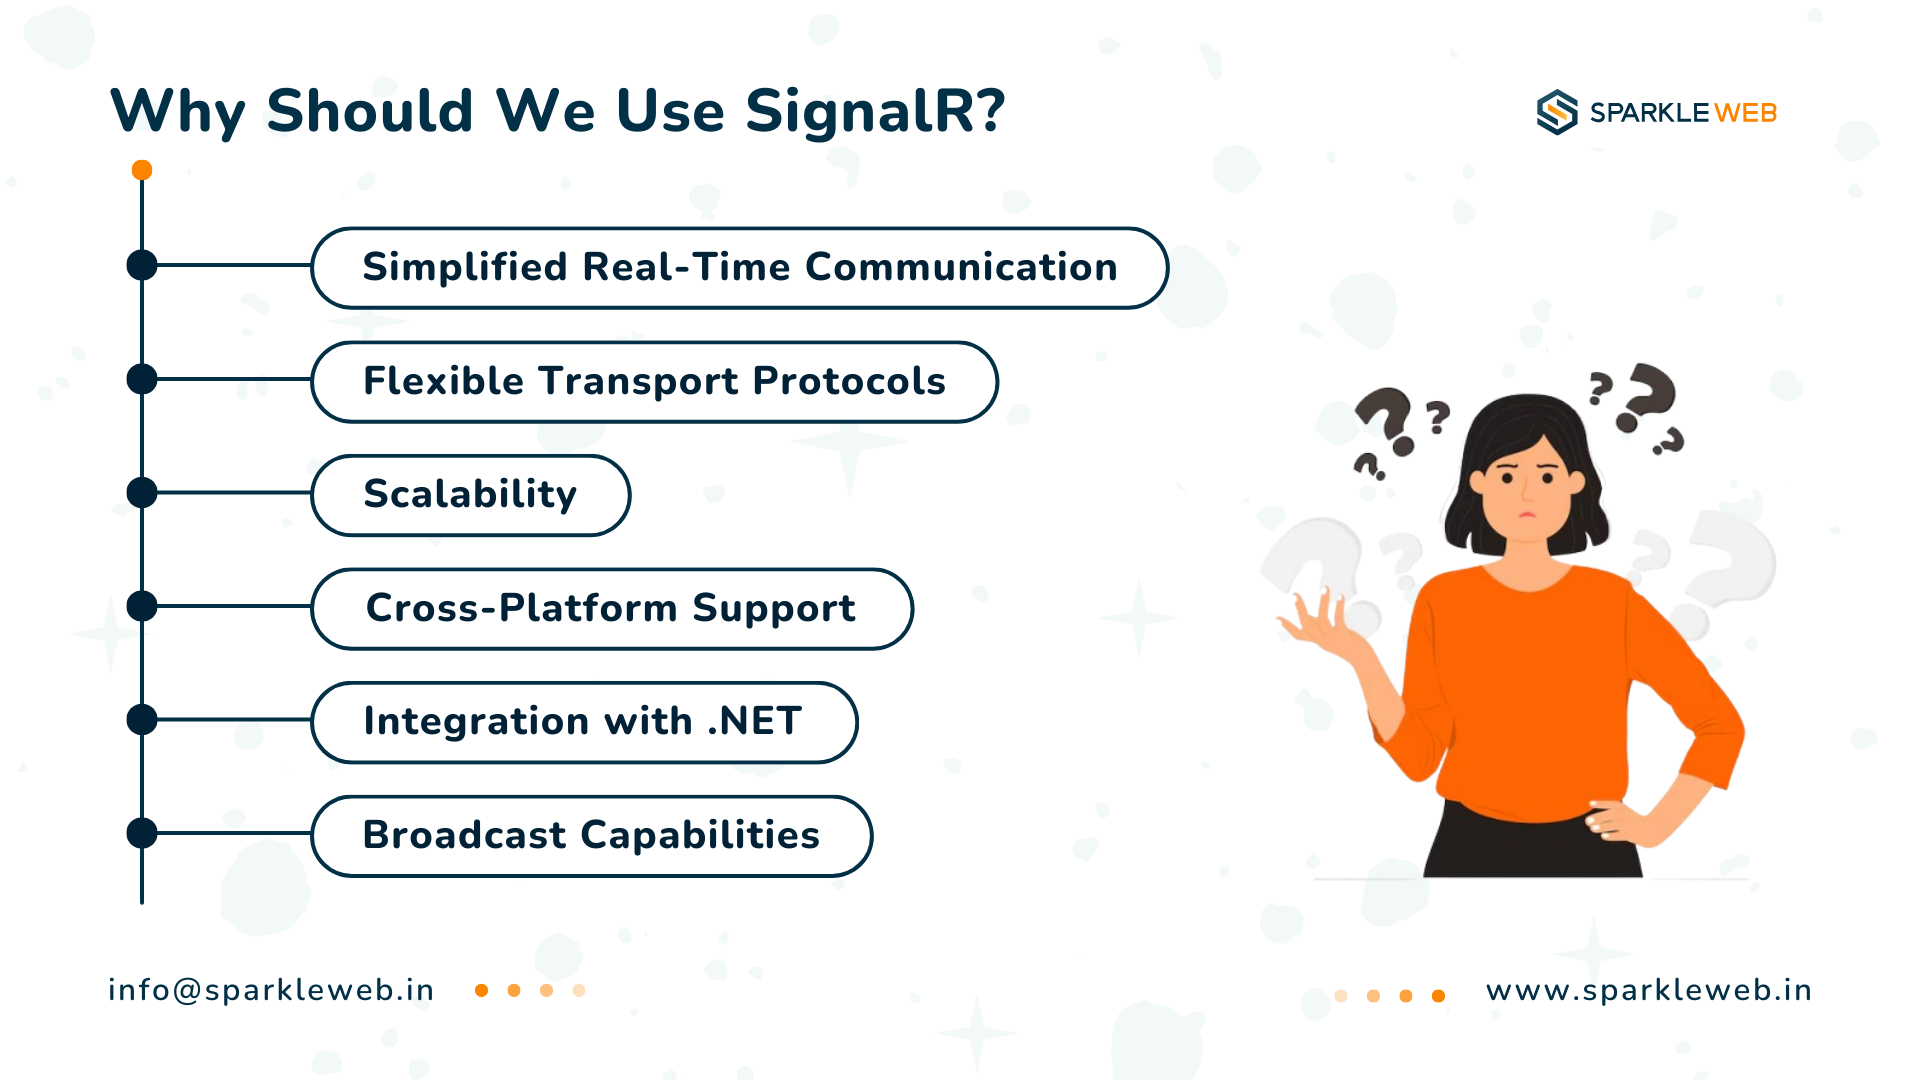
Why Should We Use SignalR?

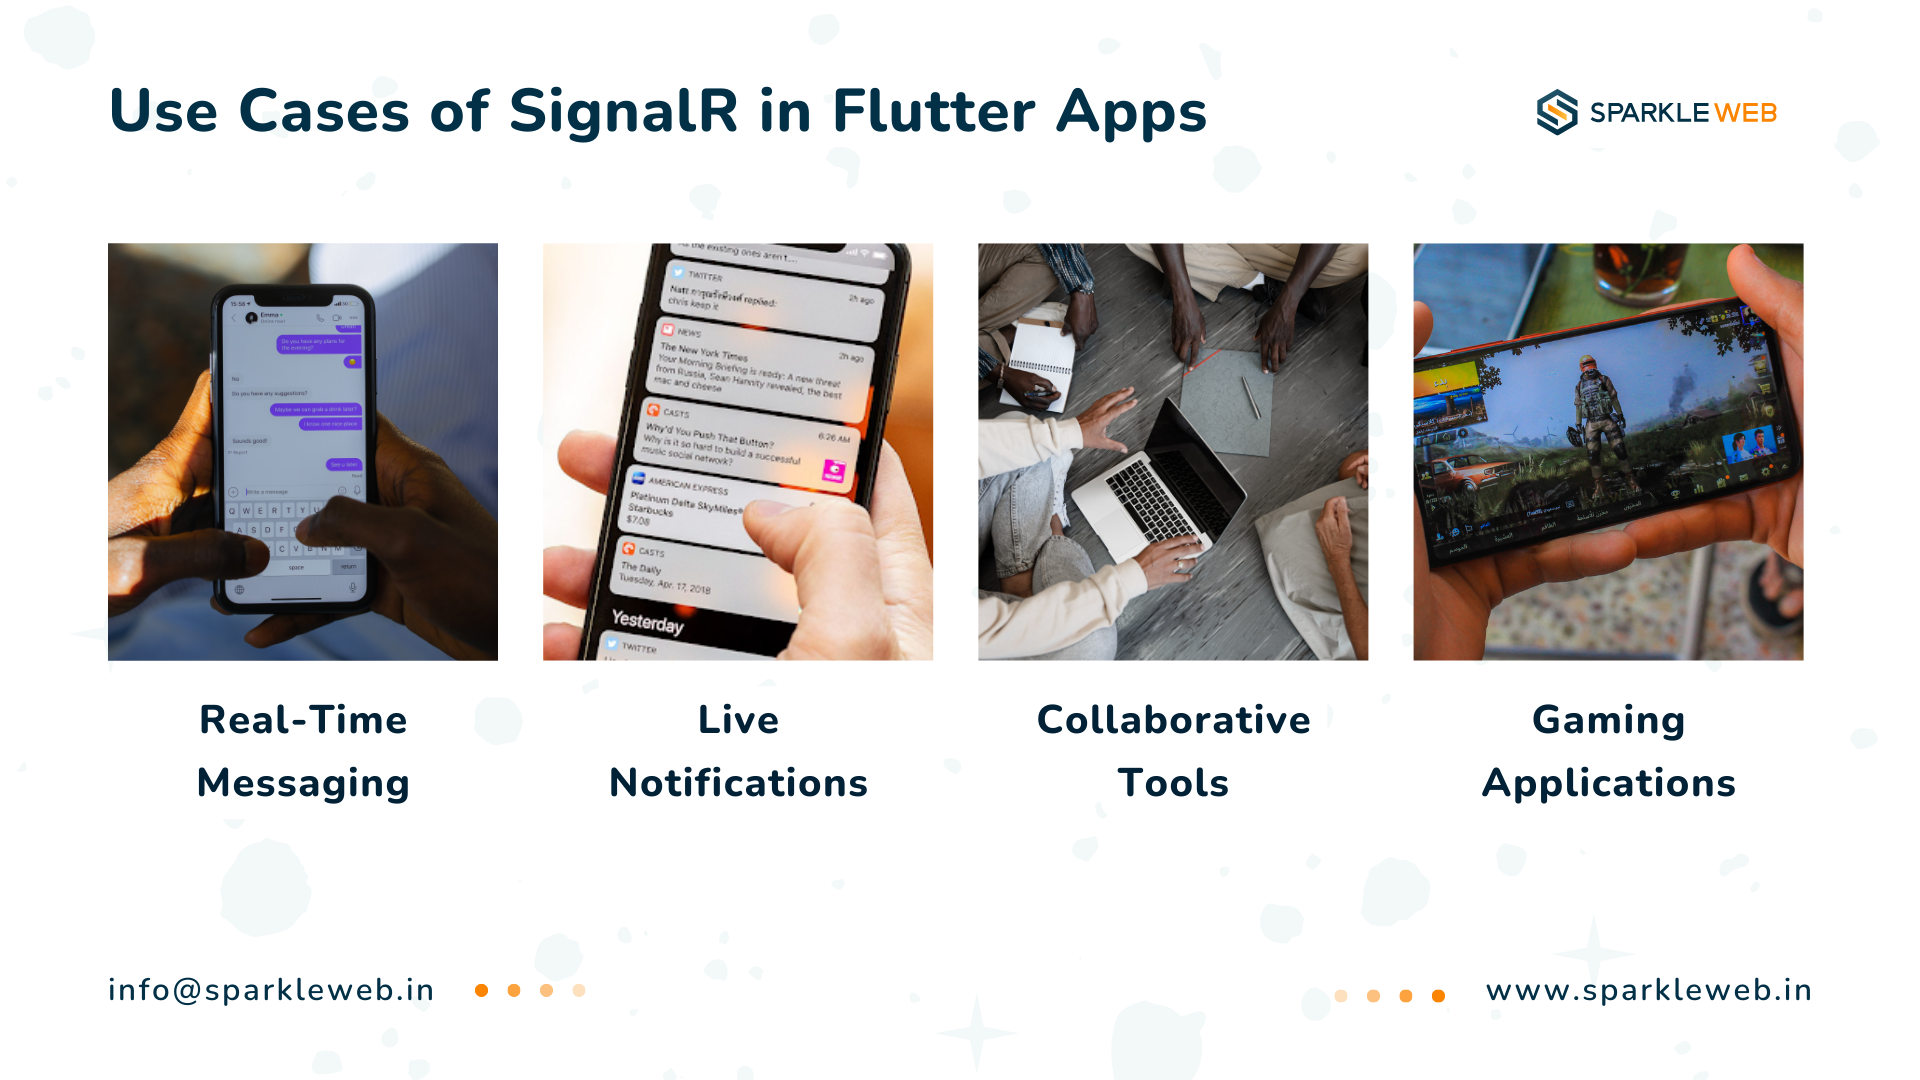
Use Cases of SignalR in Flutter Apps

How to Implement SignalR in Flutter
Step 1: Setting Up the SignalR Server (Backend)
1.1: Create a New ASP.NET Core Project
1.2: Install SignalR NuGet Package
dotnet add package Microsoft.AspNetCore.SignalR
1.3: Create the SignalR Hub
A SignalR hub is the central component where all the real-time communication happens. You will need to create a new class for your SignalR hub, which will handle sending and receiving messages.
using Microsoft.AspNetCore.SignalR;

public class NotificationHub : Hub
{
    public async Task SendNotification(string user, string message)
    {
        // Broadcast message to all connected clients
        await Clients.All.SendAsync("ReceiveNotification", user, message);
    }
}
In the above code, NotificationHub is the class that will handle the real-time communication. The SendNotification method sends a message to all connected clients.
1.4: Configure SignalR in the Startup File
In your Program.cs or Startup.cs file, you need to add the necessary configuration for SignalR. Here’s how you can do that:
using Microsoft.AspNetCore.Builder;
using Microsoft.Extensions.DependencyInjection;

var builder = WebApplication.CreateBuilder(args);
var app = builder.Build();

// Add SignalR services
builder.Services.AddSignalR();

// Map the SignalR hub endpoint
app.MapHub<NotificationHub>("/notificationHub");

app.Run();
This sets up SignalR to listen for connections at the /notificationHub endpoint.
1.5: Run the Server
Step 2: Setting Up the Flutter Client
2.1: Add SignalR Client Library
Next, you need to add the SignalR client library to your Flutter project. Open the pubspec.yaml file and add the following dependency:
dependencies:
  signalr_client: ^1.0.0
Then, run this command to fetch the package:
flutter pub get
2.2: Import Required Packages
In your Dart file, import the necessary packages:
import 'package:signalr_client/signalr_client.dart';
import 'package:flutter/material.dart';
2.3: Connect to the SignalR Hub
Now, you need to set up the SignalR connection and handle the messages. Create a class to manage the connection:
class SignalRService {
  late HubConnection hubConnection;

  void startConnection() async {
    // Initialize the hub connection
    hubConnection = HubConnectionBuilder()
        .withUrl("http://localhost:5000/notificationHub") // Replace with your server URL
        .build();

    // Define the event handler
    hubConnection.on("ReceiveNotification", (message) {
      print("Message received: ${message?[0]}");
    });

    // Start the connection
    try {
      await hubConnection.start();
      print("SignalR Connection Established");
    } catch (e) {
      print("Error connecting to SignalR: $e");
    }
  }

  void sendMessage(String user, String message) {
    hubConnection.invoke("SendNotification", args: [user, message]);
  }
}
This code sets up the connection and listens for messages. The ReceiveNotification event is triggered when the server sends a message.
2.4: Display Real-Time Data in Flutter Widgets
Here’s how you can use this SignalR service in a simple Flutter app:
import 'package:flutter/material.dart';
import 'signalr_service.dart';

void main() => runApp(MyApp());

class MyApp extends StatelessWidget {
  @override
  Widget build(BuildContext context) {
    return MaterialApp(
      home: SignalRExample(),
    );
  }
}

class SignalRExample extends StatefulWidget {
  @override
  _SignalRExampleState createState() => _SignalRExampleState();
}

class _SignalRExampleState extends State<SignalRExample> {
  final SignalRService signalRService = SignalRService();
  final TextEditingController userController = TextEditingController();
  final TextEditingController messageController = TextEditingController();

  @override
  void initState() {
    super.initState();
    signalRService.startConnection();
  }

  @override
  Widget build(BuildContext context) {
    return Scaffold(
      appBar: AppBar(
        title: Text('SignalR with Flutter'),
      ),
      body: Padding(
        padding: const EdgeInsets.all(16.0),
        child: Column(
          children: [
            TextField(
              controller: userController,
              decoration: InputDecoration(labelText: "User"),
            ),
            TextField(
              controller: messageController,
              decoration: InputDecoration(labelText: "Message"),
            ),
            SizedBox(height: 20),
            ElevatedButton(
              onPressed: () {
                signalRService.sendMessage(
                  userController.text,
                  messageController.text,
                );
              },
              child: Text("Send Message"),
            ),
            // You can display received messages here
          ],
        ),
      ),
    );
  }
}
Conclusion
SignalR is a powerful tool for building real-time apps, and integrating it into your Flutter app can help you deliver an interactive user experience. Whether you are building a chat application, live notifications, or collaborative tools, SignalR helps streamline the process of sending and receiving real-time data. With its robust features and easy integration into Flutter, SignalR is an excellent choice for creating dynamic, real-time applications.
Ready to build real-time, feature-rich Flutter applications with SignalR? Collaborate with Sparkle Web for seamless integration and expert guidance! Let's bring your app to life with cutting-edge technology.
Contact us today to get started!


Mohit Kokane
A highly skilled Flutter Developer. Committed to delivering efficient, high-quality solutions by simplifying complex projects with technical expertise and innovative thinking.
Reply